
The IK Spine
I finally got the mesh back yesterday, and Im happy to say its actually symmetrical this time.

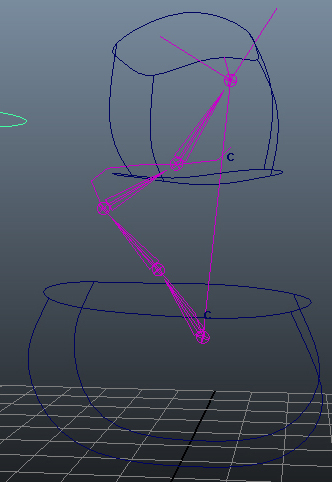
As such, I’ve been able to get cracking with building the control system for the toony rig. I started with the spine as I feel its such a central part of the control system, and almost everything else is parented to it in some way. My first step was to duplicate the bones that I want to apply the IK spine to. This means if I made any mistakes, moved anything by accident, I wouldn’t ruin the position/orientation etc. of the deform skeleton and I could easily delete the duplicate and start again. I tend to insert IK (or whatever is appropriate) to the name of the joint to differentiate it from the deform skeleton.
Once I’ve got my duplicate I hid the deform skeleton so that I couldn’t affect it or move it whilst working on the controls. I applied an IK spline with two spans to the spine. This means that there are control points for each end, as well as a single control point in the center to affect the curve. I created a cluster for each of the control points. These control the shape of the curve and the shape of the curve drives the position of the bones.

I then needed to build the actual controllers for the spine. Comet tools provides a quick way to make a bunch of spline shapes, but they are all quite simple, sharp edged splines. They never look particularly nice, and they don’t fit the shape of the body all that well. As such, I like to make a lot of my controllers by hand. To do this, I used the mesh itself to guide the shapes. I turned on snap to vertex and created a selection of curves that flowed around the area of the body that I wanted to control. I generally tweak them slightly afterwards to make sure the ends of the curves meet up and dont leave gaps anywhere. With this complete, I had a bunch of individual curves that could be selected seperately. What I actually want is to be able to click anywhere on any of the curves and to have them all selected. To do this, I had to reparent the individual “curveshapes” to a single curve. This can be easily done by selecting the “curveshape”, then shift selecting the curve I want to parent it to. I then simply use a single line of MEL script: “parent -r -s”. This leaves an empty curve node with no shape that can be deleted.


Once all my controllers were built I aligned them with the correct bones and parented the clusters to each controller. I also created two groups for each controller to be parented within. One I suffix with _SDK and one with _0. The _0 is my null group. The 0 point so that I do not need to use freeze transformations. The _SDK group allows me to set up parent constraints for a controller, whilst still giving the animator the ability to animate it. For the spine, I parent constrained the middle controller _SDK to both the top and bottom spine controllers. This means that the middle controller will always remain halfway between the top and bottom of the spine.
Once this was complete I decided to test the spine to check it was working correctly. Unfortunately, it wasn’t. I hadn’t realised I had only given the IK spline four bones to move around. When the curve had extreme bends the bones just averaged out their positions and the shape of the curve was lost. This meant rebuilding the deform spine with more bones so that there were enough joints to follow the spline curve more accurately. Having added them, I made sure to tidy up their orientation with comet tools again.

I then repeated the process of applying an IK spline to the duplicate set of bones and creating clusters for the three control points of the curve. I re-positioned the controllers to ensure they were correctly aligned with the new bones and then parented the clusters to the controls. I also set the twist controls for the IK spline to make the hip and chest controllers control
the spine rotation.

Finally, I wanted my spine to be stretchy as this is meant to be a “cartoony” rig. I created a multiplydivide node which I set to divide. I also created an arc length info node for the spline curve. This provided me with the length of the curve at any time. I wired the length into the first input of the divide node and put the length of the curve when all controls were at 0, 0, 0 into the second input of the divide. This means that the output will be the current length of the spine divided by the original length. I then simply wired the output into the scale x (the length) of all the joints in the spine.

Success! An easy to use stretchy IK spine.