Skinning
When first starting the skinning, I like each vertex to either be 100% influenced by a joint, or not influenced at all.
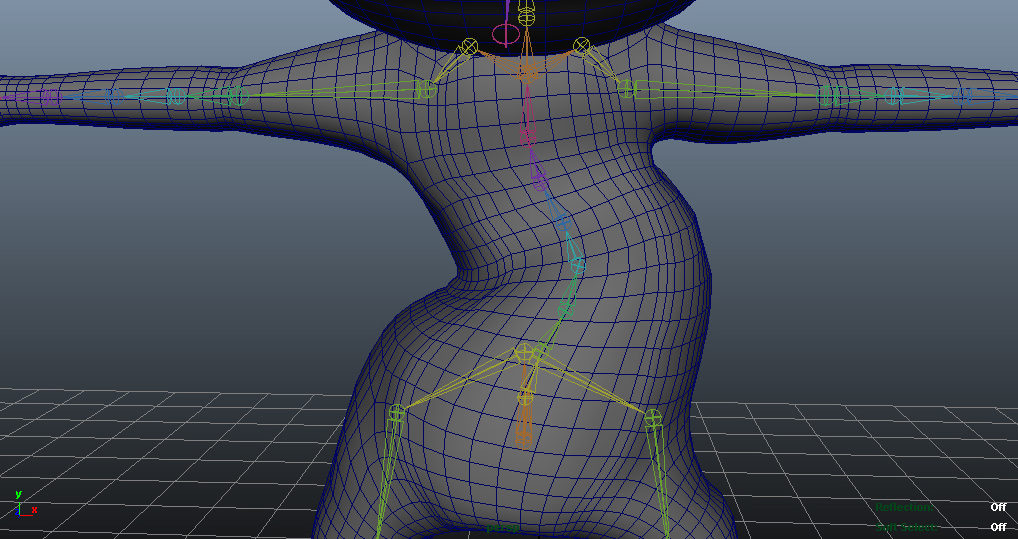
I can define areas like the pelvis and the rib cage very clearly, and then seperate up the vertices in between and give influence to the joints in the spine. This results in deformations that have very sharp edges. However, it provides a very quick way to establish which areas of the body should be moving with which joints. It also removes any unwanted stray influences from joints that are nowhere near an individual vertex.
Once that is complete, I can start to smooth the influence so that multiple joints can be effecting any one vertex. The smooth tool is particularly effective for this part of the process, though it does occassionally cause an unwanted joint to gain some influence over an area of the mesh that you don’t want it to. However, by swapping between joints and smoothing gradually the deformations become much cleaner.