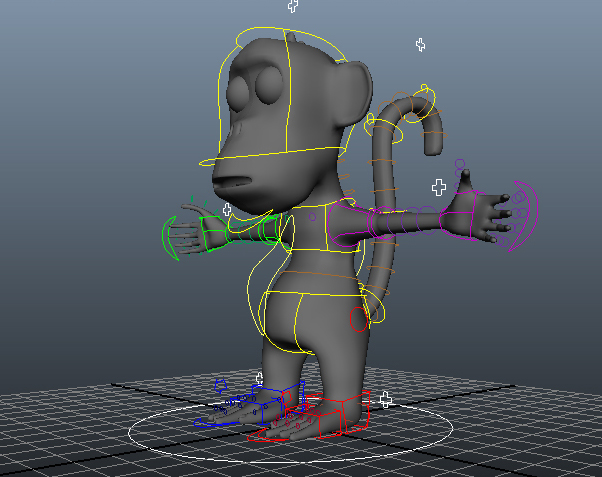
Rigging the Head and the Tail
With the spine, arms and legs complete I needed to get the head and tail done to have the majority of the rigging finished so that I could start skinning. Creating the head controls was pretty quick and easy.
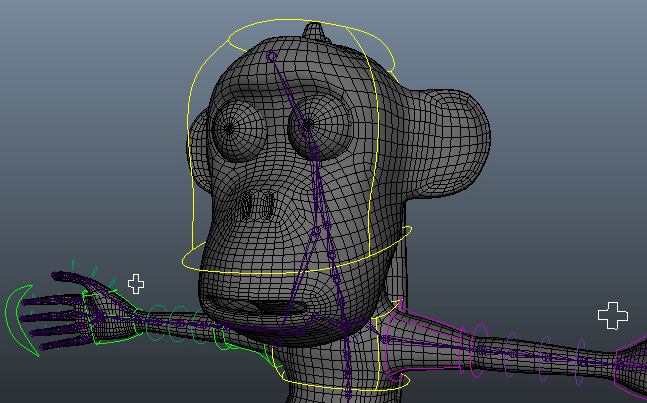
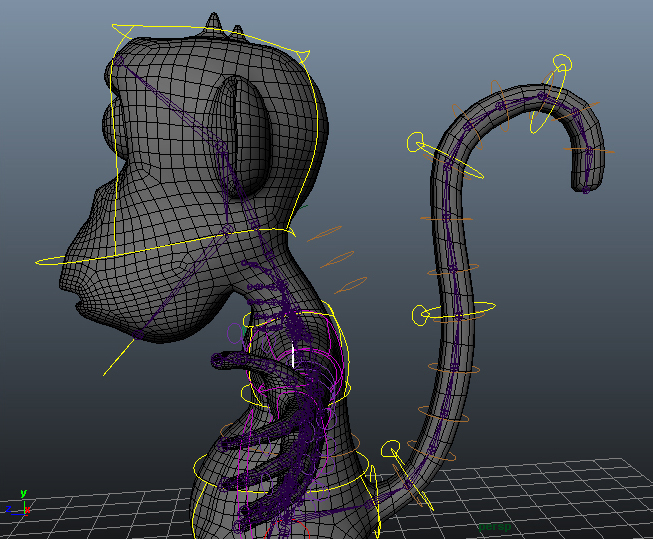
However, I wanted to give the animator the ability to control whether the head follows the orientation of the neck, or whether it always stays facing the same direction despite the neck rotating (as though it is constrained to the world orientation). To do this I created another switch controller and set up an attribute that would control the orientation. I then created two locators, both of which I placed on the pivot point for the head. I parent constrained one of the locators to the neck joint below it (this would be the local orientation locator). The other locator I point constrained to the local locator. This means it moves with the locator, but doesnt rotate. I then orient constrained the head controller to both locators and wired up the switch so that it would change the weighting of the constraint and therefore which locator the head follows.
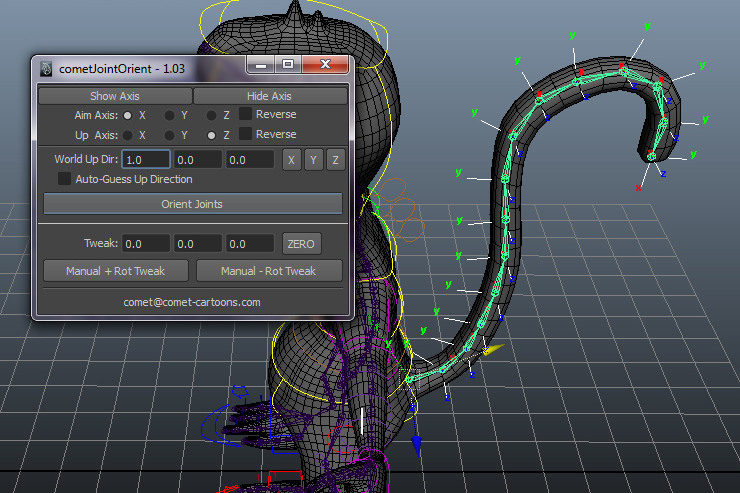
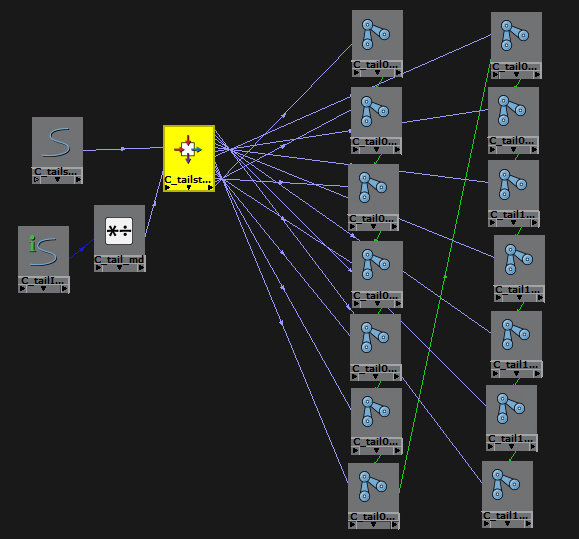
When I went to start rigging the tail, I realised I had never actually built a deform skeleton for it. As such I quickly built the joints and used the comet tools to tidy up the orientations.
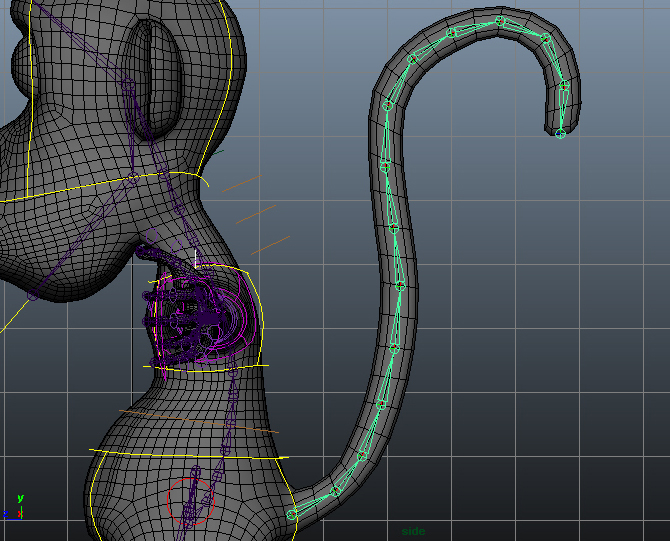
I decided to build the FK control system first, as it would be easier and faster. I created a small circle control for each individual joint and parent constrained the joints to their respective controllers. As always, all my controllers were parented to an _SDK group which was then parented to an _0 group. I wanted to make it easier for the animator to be able to animate large sections of the tail without having to select each controller individually. As such I created four extra controllers which I spaced evenly along the length of the tail. I coloured these yellow and the individual circles brown. This makes the controllers for controlling a larger part of the tail stand out more for the animator. Colour coding the controllers is important so that an animator can see at a glance how a rig works without the rigger needing to explain everything they have done.
I then wired the rotation of each of the four main tail controllers to the _SDK groups of the individual tail controllers I wanted to control. This means that as the main control rotates, all of the joints in it’s section will rotate and therefore it will bend all of that length of tail.
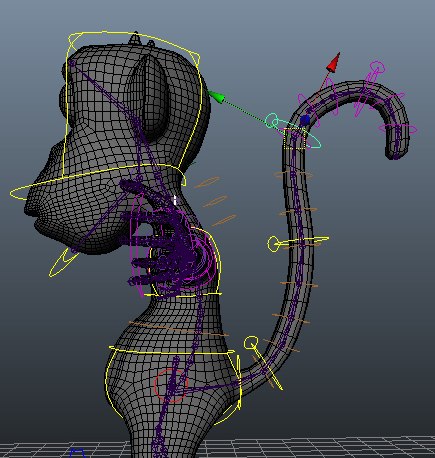
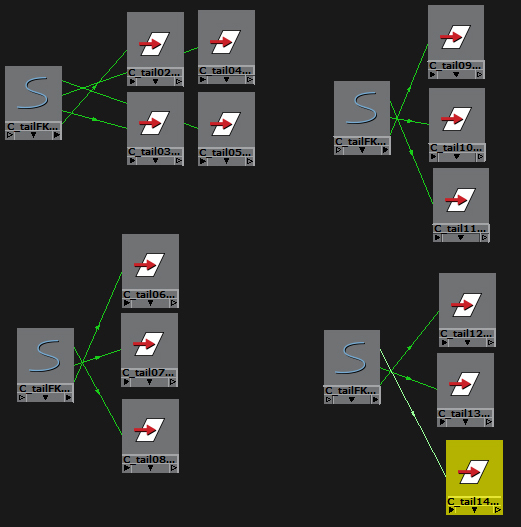
I also parent constrained each of the main tail controllers to the individual tail joint controller immediately preceding its section. This means that it should always move with the tail as it is animated.
I then set to work on the IK tail. As a monkeys tail is extremely flexible, I decided to create an IK chain with four spans. This means that there is a control point at either end, and three control points spaced evenly in the middle. I created clusters for each of the points so that I could parent constrain them to controllers. Unfortunately, as the monkeys tail was modelled in quite a curved position, I discovered that whenever I created the IK, the bones moved from their original positions. Despite playing with settings, I eventually accepted that I wasnt going to manage to get the bones to perfectly match up.
I point constrained the three middle controllers to the base and tip controllers, meaning that whenever one end moves, the controllers in the middle move as well. I changed the weightings so that the end closest to them had more effect.
I also tweaked the 0 positions of the controllers so that the IK joints lined up slightly better with the FK joints to try and minimise the movement of the deform skeleton when switching between FK and IK.
I set up a switch to allow the tail to swap between FK and IK, but I decided to add a couple of other attributes too. I set up an orientation switch for the tail that worked just as the head does, meaning the tail can either follow the position and rotation of the hips, or just the position.

I also decided that animating an IK chain with no stretch can be very difficult, as if the curve is made longer than the length of the joint chain, the joints only shape themselves to the part of the curve they can reach. However, I didnt want to force the animator to have a stretchy IK tail, so I decided to add an attribute that would turn the ability to stretch the tail on and off. To do this, I simply used the same arclength node for the curve and a multiply/divide node as I have done in every stretch, but I added a condition node that would be affected by the switch.
So at last, the majority of the rig building is complete. I can set up a deform test and start skinning the rig!